Toilet Install and Repair
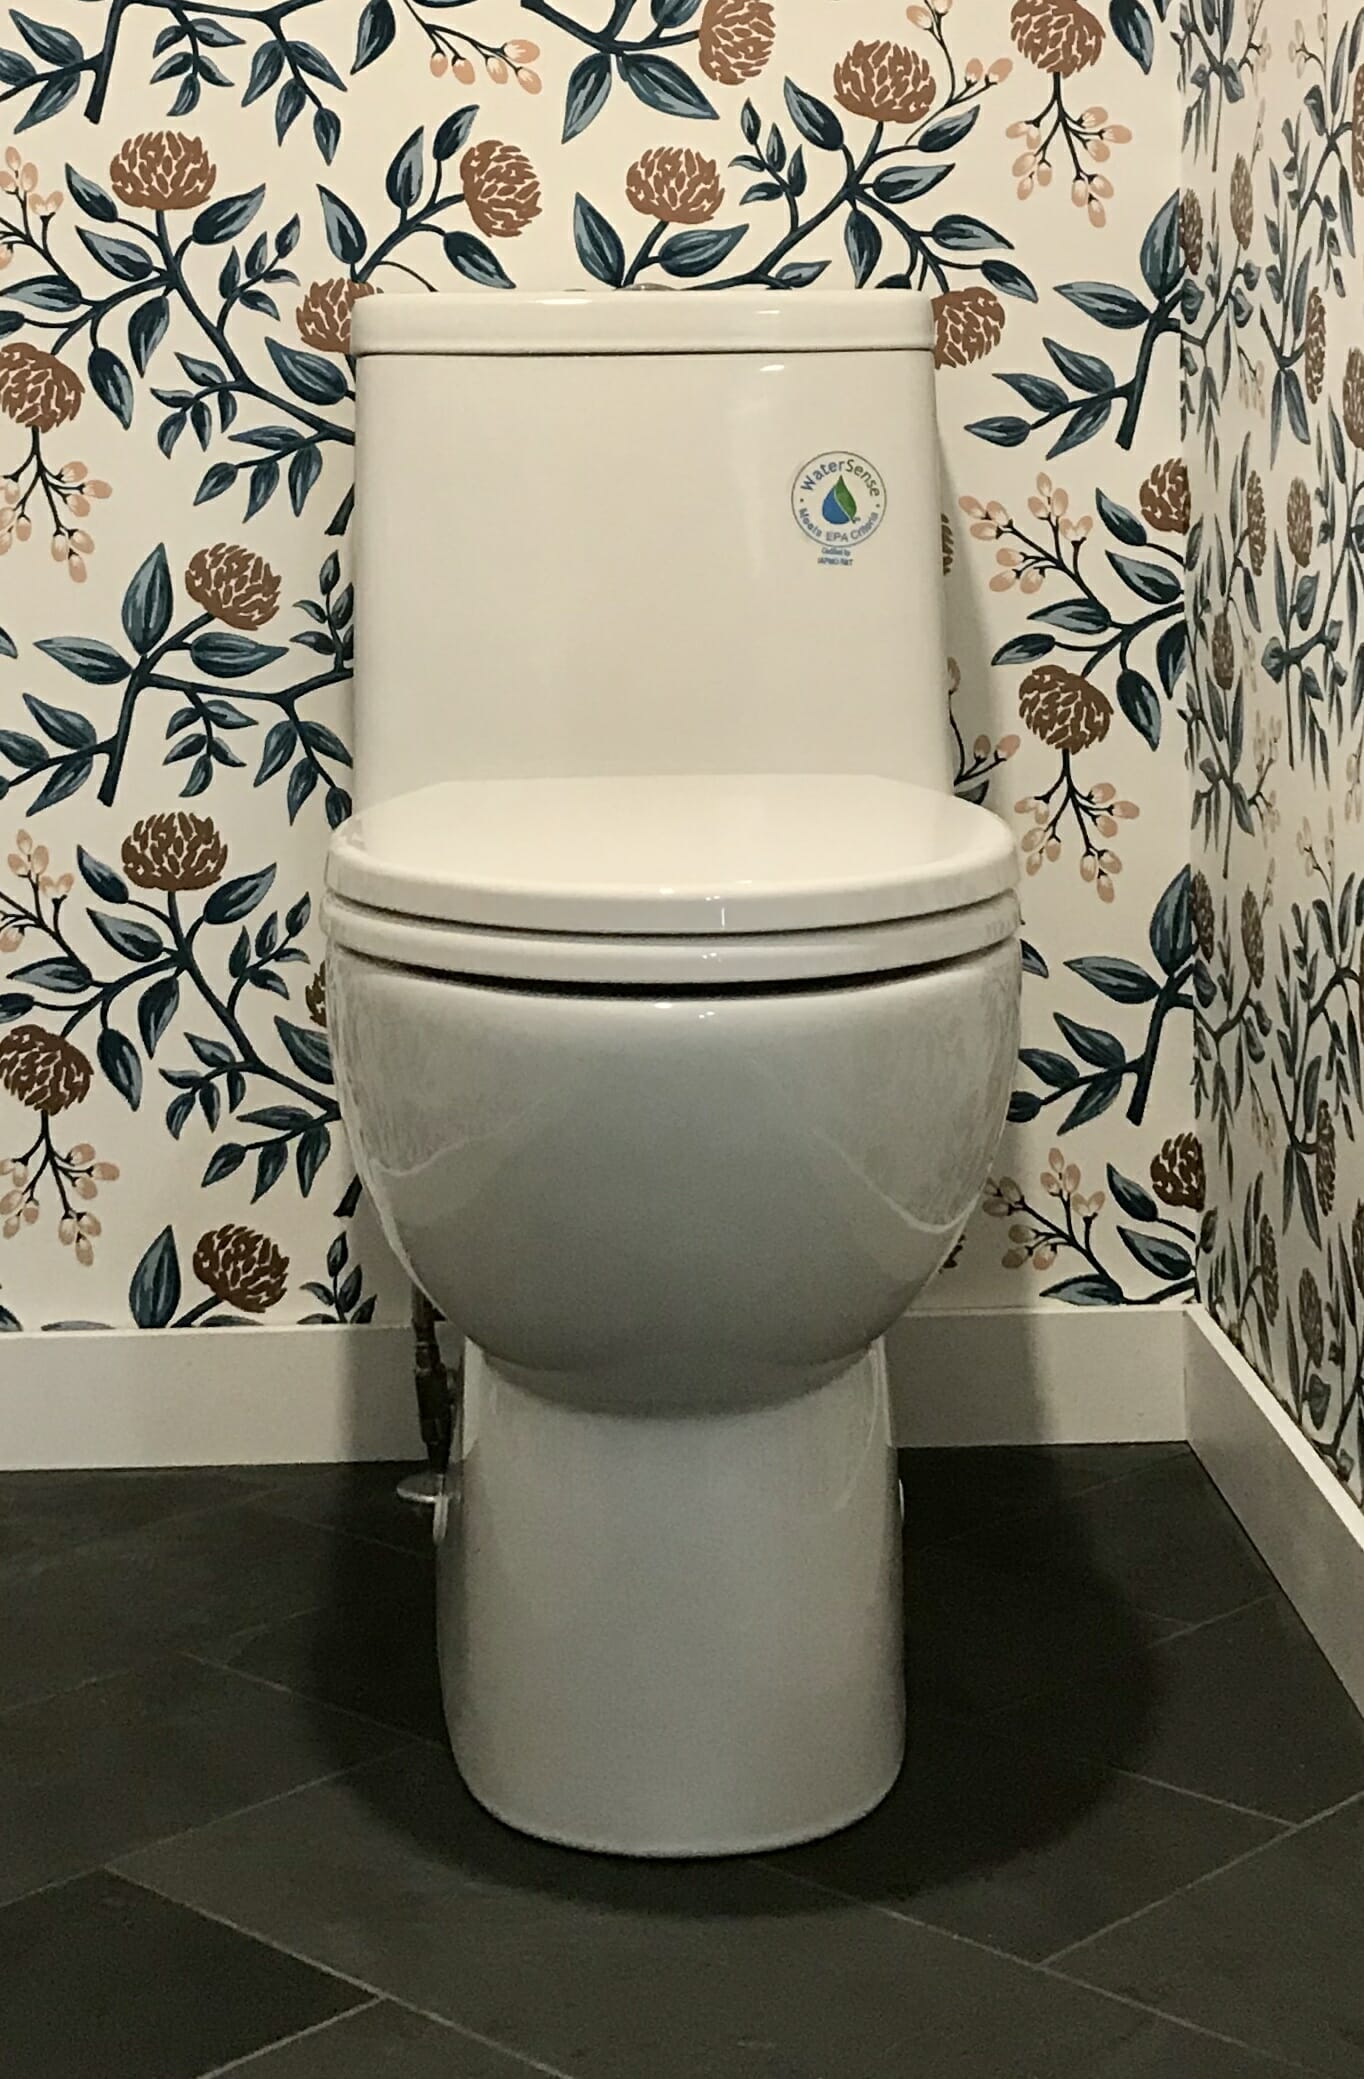
A new toilet install can do wonders for freshening up a bathroom. So can I working toilet! If your toilet isn’t working properly we can fix it for you! Or, if it’s stained and dated we can easily swap it out for you.
Leaking toilet? We can quickly repair it for you. We carry an inventory of toilet repair parts for quick and easy repairs.
Book High Park Handyman today for your Toronto toilet install and repair!
Read this article to help you understand more about the new 1.28 gallons per flush toilets and the 1.6 GPF toilets.
Toilet Install Steps
When it comes to home improvement, one of the most essential tasks could be a toilet install. A properly installed toilet is obviously important and contributes to the overall comfort and hygiene of your home. Whether you’re repairing an old toilet or installing a new one, understanding the process can save you time and money. So, if your don’t want to hire someone for your Toronto toilet install, then lets take a look at the steps for a happy toilet install.
Before you begin your toilet install, it’s crucial to gather the necessary tools and materials. You will need a new toilet, a wax ring (buy a a couple different wax rings of different depth), adjustable wrench, maybe slip joint or channel lock pliers, a scrapper to clean the flange, plastic shims, garbage bag and a few other basic tools. But, the secret ingredient to a happy toilet swap is a product that you sprinkle in the toilet bowl that temporarily solidifies the water so you don’t make a mess! Make sure to choose a toilet that fits your bathroom space and meets your needs. Consider factors such as height, style, and water efficiency when making your selection.
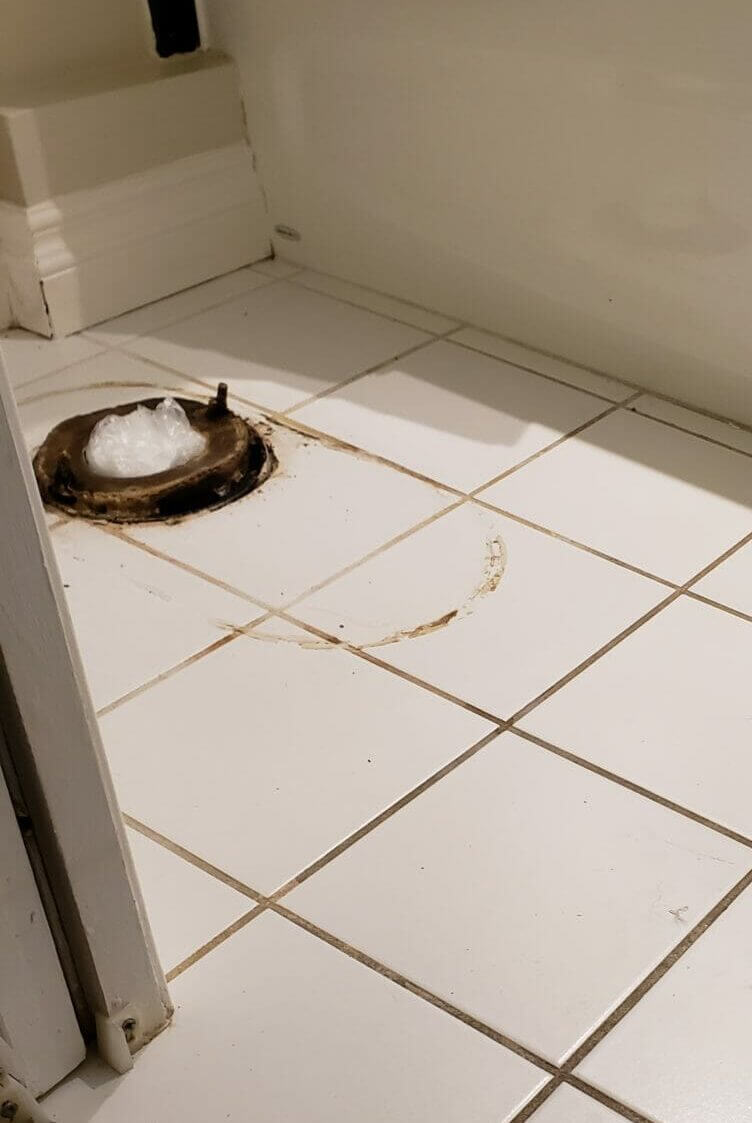
The first step in the toilet install process is to remove the old toilet. Turn off the water supply and flush the toilet to empty the tank. Disconnect the water line and maybe have a bowl and a sponge to help with cleaning up the remaining unflushed water in the tank. Next, unscrew the toilet from the floor with an adjustable wrench. Have a drop cloth on the floor and most importantly, have a contractor grade garbage bag folded down and waiting for you to place the old toilet into. It still has water in the trap that will come out when you remove it, so the bag will help keep things cleaner and dryer. But, what will really help here is the secret ingredient I mentioned above. So, before you remove the toilet make sure you empty the packet into the remaining water in the toilet bowl. This way you’ll avoid the mess! Clean the area where the new toilet will be installed, ensuring that the flange is in good condition. Scrape the flange clean. Be careful not to drop anything down the drain.
Next, you will need to place the wax ring on the toilet flange. This ring creates a watertight seal between the toilet and the drain. Here is where many people fail in the install process. You need to inspect the height of the flange relative to the finished floor. Ideally it is flush with the floor.

If it is up to 1/4 inch below the floor you should be able to use a “jumbo sized” wax seal which is thicker or taller than most standard seals. If it’s flush or on top of the floor a standard sized seal will work. If it’s more than a 1/4” below, do NOT stack the wax seals. We recommend raising the flange which would require cutting the 3 inch waste pipe.
Carefully position the new toilet over the flange, aligning the bolts with the holes in the base of the toilet. Press down firmly to compress the wax ring and secure the toilet in place. You should be able to feel the toilet resting on the the seal at first until you push it down firmly and feel the toilet resting on the floor. You are now well and proper on your way to a quality Toronto toilet install!
Once the toilet is positioned, use a level to ensure it is even. Use a shim or two if it isn’t level. Tighten the nuts onto the bolts, but be careful not to overtighten, as this can crack the porcelain. Stand up and use the side of your leg to nudge the toilet. If it rocks or moves you have to tighten it some more or level it with a shim. Reconnect the water supply line and turn the water back on. Allow the tank to fill, then flush the toilet to check for leaks. Congrats, you have completed a successful Toronto toilet install!
If you’re unsure about any part of the process, or are worried about unseen plumbing, toilet flange, or sub floor issues, consider hiring a handyman service (that would be us at High Park Handyman) to ensure a quality and clean installation, regardless of potential hurdles. With the right installer, your new toilet will provide years of reliable service. So, book High Park Handyman for your Toronto toilet install and repair needs today!

